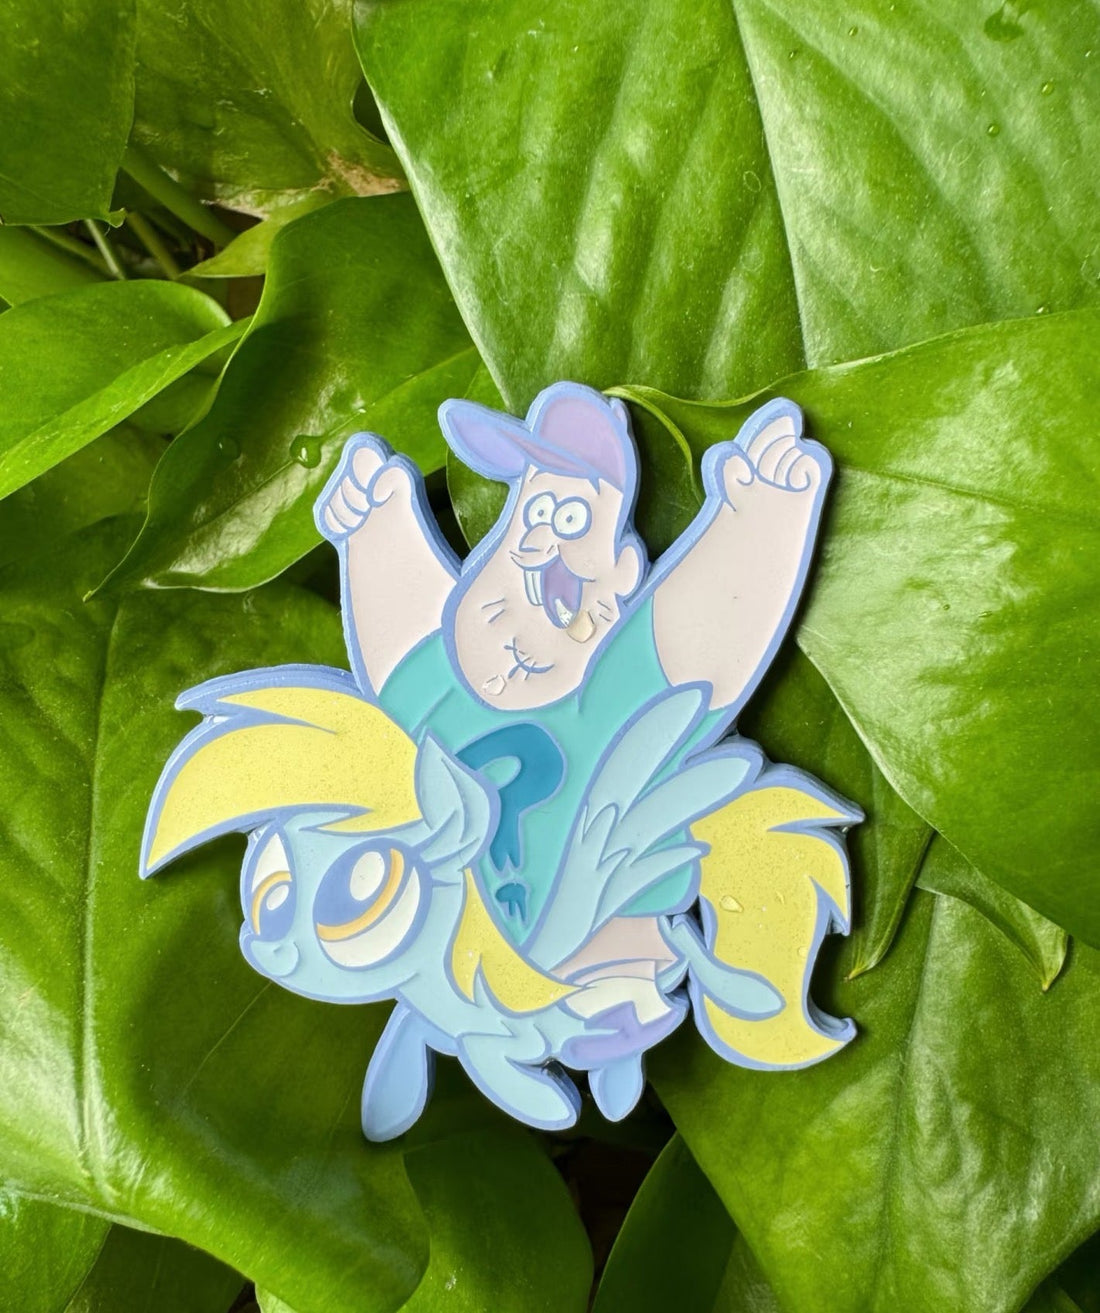
Guide to Custom Lapel Pin Design: Avoiding Costly Production Mistakes
Share
Designing custom lapel pins requires precision in communicating specifications to artists/manufacturers. Follow these critical guidelines to ensure your vision translates flawlessly into tangible products.
Design & Artwork Specifications
Provide Scale Reference: Always include dimensioned example images (e.g., "Line width: min. 0.8mm") to avoid undersized elements.
Intaglio (Recessed) Areas:
Minimum line thickness: 0.3mm
Minimum recessed area: **0.5mm²
Why Smaller details break during mold engraving or metal filling.
Key Rule: Simplify complex designs. Intaglio pins support ≤3 colors effectively.
Color Strategy for Intaglio Pins
Color application follows a 2-step process: **raised areas painted first**, then recessed areas filled. This causes *visible color shifts* even with identical Pantones. Optimize with:
Rule 1: If recessed area > raised area →
Use lighter recessed colors + darker raised colors.
Rule 2: If recessed area < raised area →
Use darker recessed colors + lighter raised colors.
Pro Tip: Test physical color samples—digital proofs don’t show enamel texture/opacity shifts.
Enamel Finishing Options (Pros & Cons)
| Technique | Best For | Limitations |
| Single Enamel | High durability | Limited to 1 color |
| Multi-Enamel | Bold designs | Avoid gradients on tiny areas |
| Transparent | Metallic effects | Scratches easily; high defect rate |
| Pearlescent | Premium texture | Swirling" creates water patterns |
| Glow-in-Dar | Night visibility | Blurs fine lines; shorter lifespan |
Critical Pre-Production Checks
Vector Files: Require CMYK-based .AI or .EPS files from designers.
Mold Review: Approve a physical mold sample *before* mass production.
3-Strike Rule If details break 3+ times during sampling, simplify the design. 